Hair fashion blog
How To: Elsa Braid From Disney’s “Frozen”


More than a year later, Kim still has an obsession with the film Frozen! She is fascinated by Elsa’s beautiful locks and always has a Disney tune stuck in her head. The well-known Elsa braid is something we had to try!
Notice some roots?
This is the perfect style for disguising pesky growth before your next touchup! The volume and height will hide your roots, creating a blended style.
Pro Tip: Start with some volume in the hair. Use natural curls or curling iron.
- Section the hair from ear to ear and isolate the top section with a clip.
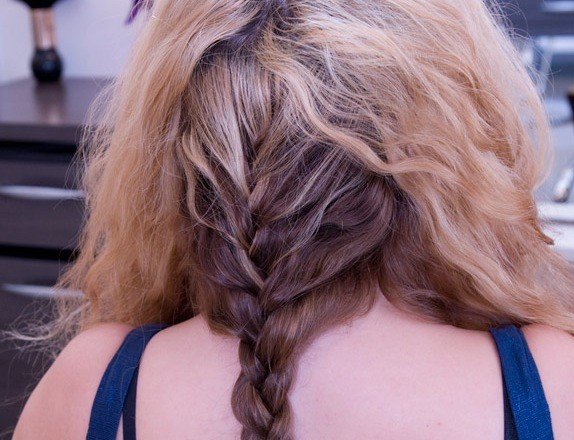
- French braid the bottom section of hair, keeping it loose and lived in.
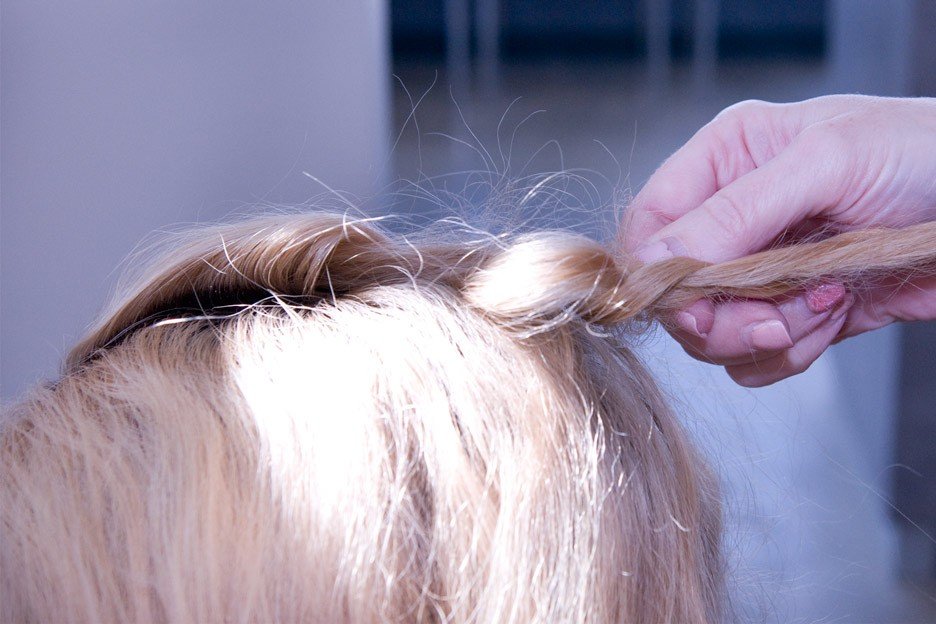
- One by one, take 3-4 centimeter horizontal sections and alternately twist 2 pieces or braid 3 pieces from each section.
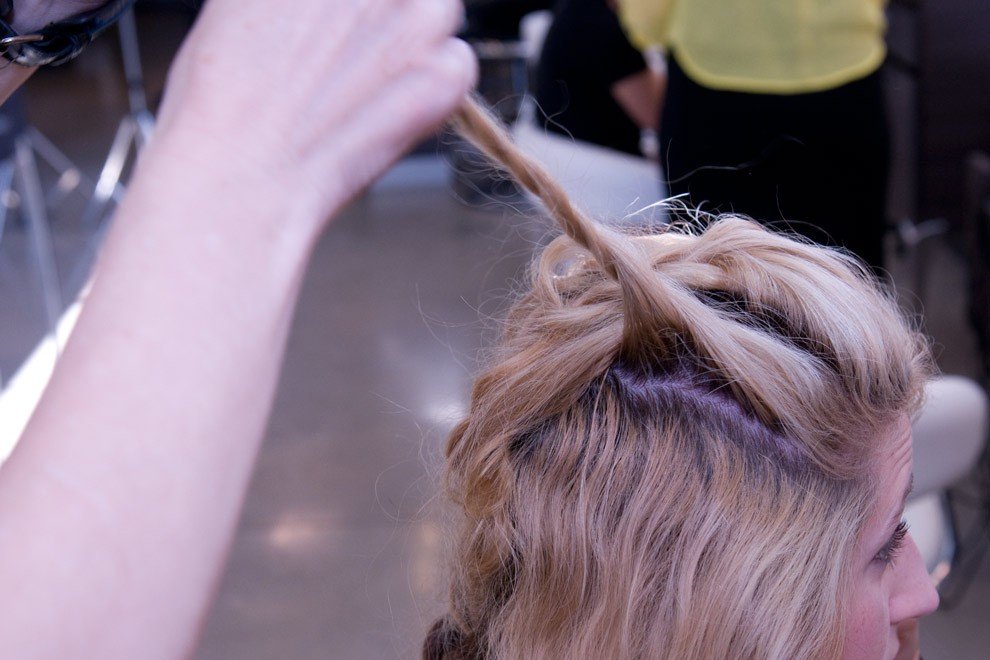

- Firmly push the sections from ends to roots to loosen up and mess up for volume.
- Weave each of these sections one at a time into the French braid. Leave the ends loose for now.

- Continue to do this technique to each horizontal section from ear to ear.
- Gather up all your ends mixed into the French braid and push further if needed to loosen and blend. Finish the look by using bobby pins around any areas that need tightening.

Here we have created a messy look, but it can be made to be disordered or neat! Try it yourself, but be warned, you will have “Let It Go” stuck in your head for days.
Have you tried an Elsa braid? Share your photos with us @elementhair.